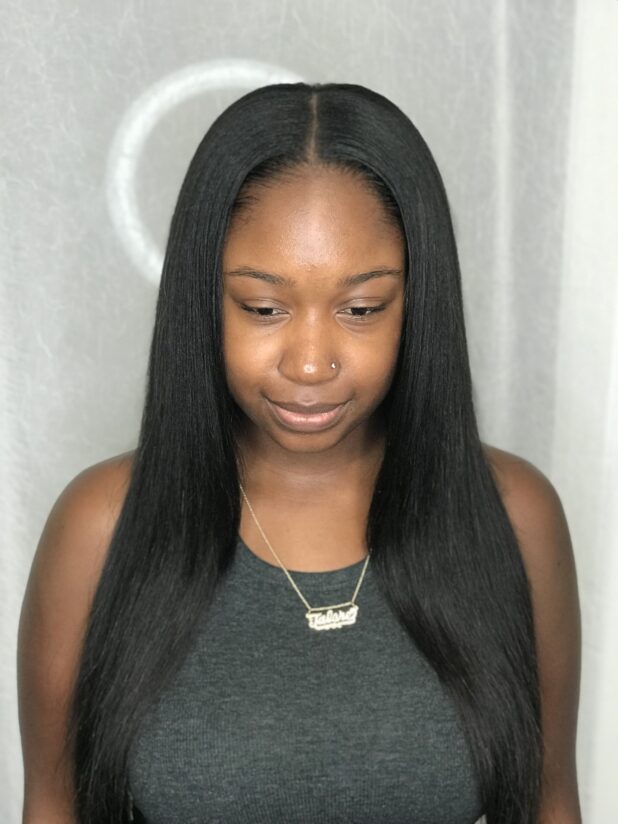
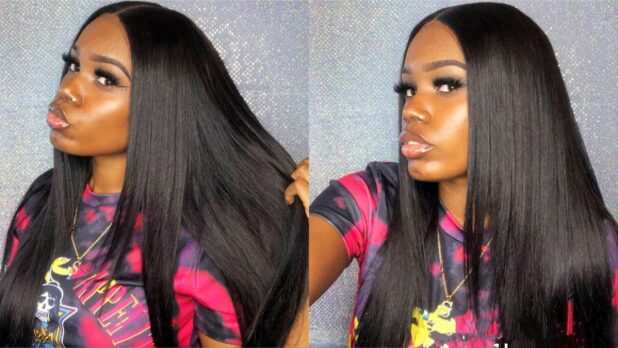
There are so many popular types of hair weave out there, but I would say undoubtedly that one of the most popular textures that girls go for is Straight Weave. Straight hair is very easy to manage, and it really does not need a lot of maintenance.
Once the hair is of good quality, it will be a breeze to maintain and style. Online hair stores carry quality hair which is healthy and smooth. If it is healthy, it should be soft, smooth, shiny, and flowing. It should also be easy to run your fingers through without snagging. The look and feel says it all. We could say that your fingers should glide through the hair like butter. That is how you know the quality is great.
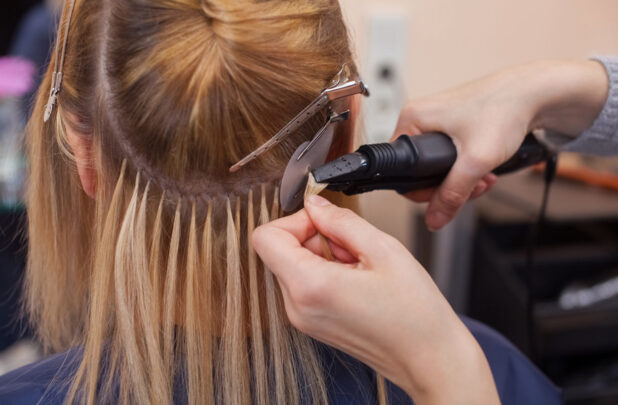
Apart from the bundles themselves, the installation is an important part of determining how snazzy your finished look appears. A good installation is very important for any texture of weave, but straight hair installations need the most care since humps and bumps at the base of the style can be very unsightly and unattractive.
Table of Contents
Sew-Ins
If you are not used to sewing in your own weave, it may take a while for you to master the art. It does take some practice, but once you get the hang of it, you will become a master of the art. The easier type is the one with leave-out. On the other hand, a style with no leave-out can be more challenging, especially if you are doing it on your own.
Braid Pattern
To prep your real hair for a sew-in, you first need to decide how you want to wear the final style. You also need to decide how flexible you want the style to be. Do you want to wear only a middle part? Or a side part? Perhaps you want the flexibility to wear both or maybe no part at all. You may prefer to wear your hair down or in a ponytail. If you want to wear a ponytail, how high do you want to wear it? All of these are factors that you need to consider when deciding your braid pattern prior to doing a sew-in.
The Braids
Whatever style you choose, make sure that the braids follow the pattern in the direction you want the tracks to lay. The smaller the braids the better. When you have small braids, they conform better to the natural shape of the head and sit flatter. This is what you want to achieve before installing any bundles, but particularly straight hair bundles, since they will highlight any flaws in your braid pattern if done incorrectly. Once the braids are small, the tracks will sit flat, and the entire style will be as smooth and natural looking as possible.
Just make sure that your braids sit as close together as possible to eliminate the possibility of any holes in your style. If your hair is not very dense or you find that the braids are too spaced out, use a weaving net or weaving cap over the braids so that it gives you the option to fill in those gaps for a smooth and seamless straight style.
Glue-in (Bonded) Method
The glue-in otherwise known as the bonded method is great for creating quick weaves. You could have a seamless install in as little as 45 minutes. To prep the hair, you should always use a protective solution or create some type of protective base so that the latex glue is not able to have contact with your real hair. Latex glue can cause serious damage to your hair and scalp if used incorrectly so it is very important that when your installation is done properly, taking into account correct product usage.
The Base
Some people prefer to use stocking caps and others prefer to apply the glue directly to their protected hair. Whichever method you choose, just make sure that the glue does not touch your scalp since some people have unknown latex allergies which can cause very bad reactions. If you are applying directly to your hair, it is a good idea to use at least 2 layers of protectant before applying glue. If you are using a stocking cap, 1 layer of protectant under the cap should suffice.
Glue-In Installation
Whether you choose to have leave-out and where will be determined by the style(s) you want to accomplish from the installation. Once the hair is prepped, you can go ahead and start placing your tracks. If you need maximum denseness in any area, you can place the tracks as if they are touching or almost touching. If you want normal density, a good distance is about 1 inch or so apart. This is a good distance since it is close enough to hide the tracks below but far enough so that you don’t end up with a style that looks too dense and unsightly. The idea is to keep it looking as natural as possible so about 1 inch apart for your tracks is ideal.
Place the tracks in the direction you need them to go. Note that for an updo, you do not necessarily have to place the tracks in the exact direction the hair will be combed in. Once the tracks are placed very close together, you usually have up to a 90-degree angle of flexibility to work with when it comes to repositioning the hair for styling. It may sound complicated, but it really is not. Once you practice, you will get better and better at your installations which will allow you to become a master at your craft.
The Closure
If you are using a closure with straight hair and you are doing it on your own, this can be the most difficult part of the style. Mastering the installation of the tracks is one thing but becoming a pro at placing a closure is another level of mastery. You see, the closure is the endpoint of the hairstyle which seals the entire hair weave, and it can make or break your finished look. An improperly installed closure can spoil the entire style, so it is very important that you master this part as well.
For styles with a front closure like a 4×4 lace closure, it is always best to install the closure first. Make sure it lays flat. The best way to do this for sew-ins is to create some strong anchor braids for the closure to be attached to. For glue-ins the hair should be prepped the same and the closure should be placed flat to the surface of the head. Whichever method you choose, just make sure there is slight tension on the ends of the lace of the closure as this will ensure that it sits flat and stays in place.
Once the front closure is installed, then move on to installing your tracks with the last track at the top forming a horseshoe shape around the closure. For a glue in, anchor the last track onto the edge of the lace of the closure. The same goes for a sew-in. This will reinforce it and make it as secure as possible.
For closures that need to be placed at the top of the head, like the round type, these need to be installed last. After adding all the tracks, leave a hole that matches the size of the closure then anchor it onto the tracks which surround the hole for a seamless completed style.
Read Also:
6 Tips For Styling Your Hair For The Workplace