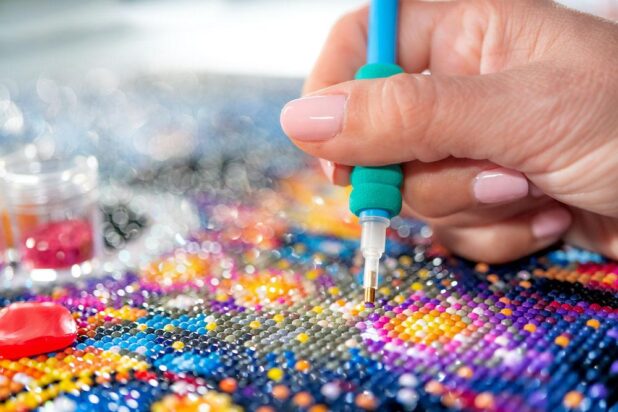
When it comes to diamond artwork, there are a few significant obstacles you need to overcome. The first one is pressing the stones and preparing the canvas. Once you are done with your artwork, the second significant hurdle is hanging your work of art.
Having said that, finishing a do-it-yourself painting is entirely up to the individual. They have the option of having things their way, in the manner that appears most appropriate to them. In terms of hanging it, we’re going to assist you today.
There are several methods to present your 5D diamond artwork so that it looks its best. Numerous possibilities are present and in a variety of ranges and ability levels, regardless of the kind of diamond artwork, you have accomplished.
Based on our personal experiences, we have listed some of the incredible tips and tricks that will help your diamond artwork shine through. For more custom tips for your diamond artwork, check this.
Table of Contents
1. Stretch Bar Application to Completed artworks

When it comes to mounting your diamond artwork, one of the most effective methods is to use stretch bars. The directions included with the kit are quite simple to follow and result in a stunning show with increased depth.
When purchasing stretch bars for your artwork, bear in mind that they should be 5cm shorter in length than the width of the canvas. This allows you more wrapping space for your canvas. The resulting effect is rather amazing, and you’ll be able to see the diamonds that are wrapped around the canvas’s edges.
2. Apply Your artwork To A Pre-Stretched Blank Canvas
This is one of the most important techniques that everybody needs to follow. All you need to do is get a pre-stretched blank copy of a canvas from a shop. This way, you will avoid the difficult portion, since stretching and stapling will be already done for you. The greatest results are obtained by using spray glue or any other adhesive on the reverse of the canvas or artwork.
Apply the glue and wait a few moments; when it begins to feel sticky, gently set the artwork on the canvas, extending it from all sides to ensure that it distributes evenly throughout the surface. Provide that any creases and bubbles are removed to ensure an equal appearance. Allow a day for the adhesive to thoroughly cure before displaying your artwork.
A Tip: Always seek a canvas that is the correct size for the artwork you are working on. This may be accomplished simply by measuring the canvas without regard for the boundaries. If your drawing does not need additional borders, use a canvas that is the same size as your artwork.
3. Frames Can Be Found At Nearby Thrift Stores
Have you considered checking out the secondhand stores in your neighborhood? Who knows what treasures you may discover in the most unlikely locations. At times, beautiful frames might be found hidden in local businesses.
You’ll need to conduct some treasure hunting to get the greatest alternative for your diamond artwork. This is because riches are seldom discovered. You may be able to get the greatest, most economical used frames that are the precise size of your diamond artwork.
If you want to follow this suggestion, you will need to perform some measuring and cutting. To get foam board or cardboard, you may visit one of your neighborhood craft shops. If you want to produce borderless, flat artwork, it is advised that you use box cutters. This assists in reducing the foam board to the same size as your canvas.
Now that the artwork is dry, it is ready to have adhered to the foam. Simultaneously, ensure that it is centered and that just the boundaries protrude. The borders will then need to be folded onto the back of the foam board and securely glued in place. Assemble the canvas by adhering it securely to the foam board.
A Tip: Before mounting your artwork to the foam board, we suggest trimming the border of your artwork from the oak tag. This will provide a more framed appearance. Add some colorful washi tapes to the sides of your canvas board to give it a more jazzy flair.
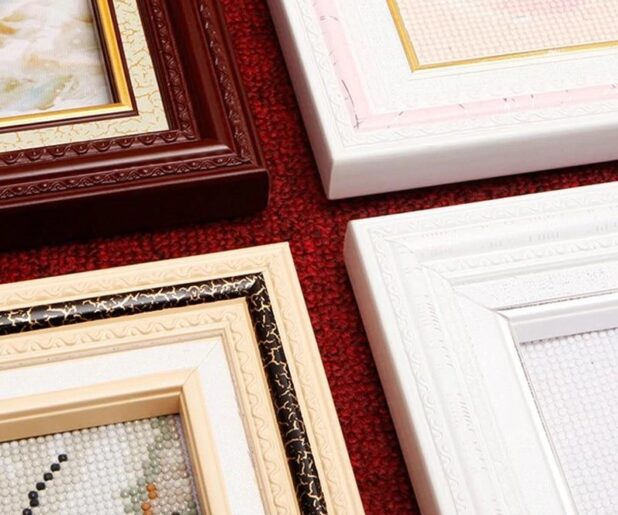
4. All You Have To Do Is Seek For Experts Who Can Frame Your artworks Professionally For Mounting
All you have to do now is go out on a search for some professionals who can frame your artworks professionally for mounting. Settle down and unwind, so that you are free of concern. When large-scale craft businesses display artworks, including the 5D diamond artworks, they often allocate an entire area to them.
They feature an extensive assortment of frames from which you may hand-pick one. Their assortment features a variety of wood styles and colors. This may be a costly alternative for some, which is why you may seek internet specials. Alternatively, you may frame your artwork during their discount season.
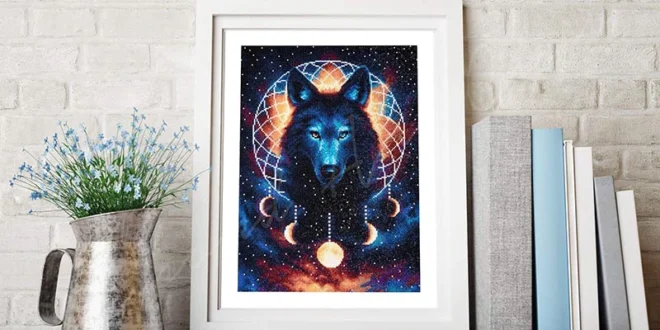
5. Present Your Work in a Poster Frame
This technique will give your artwork a more professional appearance, rather than a do-it-yourself appearance. A normal poster frame may be purchased at a neighborhood hobby shop or craft store. The poster artworks are ideal for framing bigger diamond works of art. To mount your diamond artwork on the frame, just lay it over the plastic one.
Before installing your artwork, turn the plastic artwork over so that only the solid whites are visible if the inner artwork is exposed from the sides. Once the frame is in place, your artwork is complete!
Conclusion
We hope that this article cleared all your doubts regarding how to hang your diamond paintings. All of the recommendations that we have listed above will come in handy when preparing a wall artwork. In this manner, your diamond artworks will be sufficiently apparent and will capture the attention of everyone who goes by. Try any of the above-mentioned methods for astounding results.