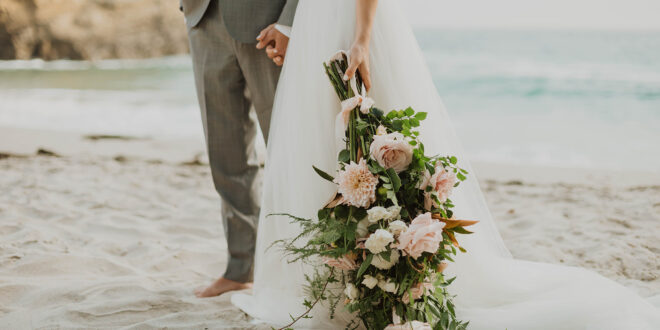
Are you a bride-to-be? If so, first of all, congratulations! This moment in your life will make a dramatic difference, and you will be one step closer to your happily ever after. So, are you interested in creating your own bridal bouquet and showing off your artsy and creative side? If so just know that you can easily create your own bridal bouquet and show off your crafty side with this DIY solution. Nowadays due to the global pandemic, a lot of women might appreciate this article & our instructions. Getting married in the spring, summer, fall, or winter? Either way, it may be just kept on reading and learn all there is to know!
Table of Contents
Top 8 steps
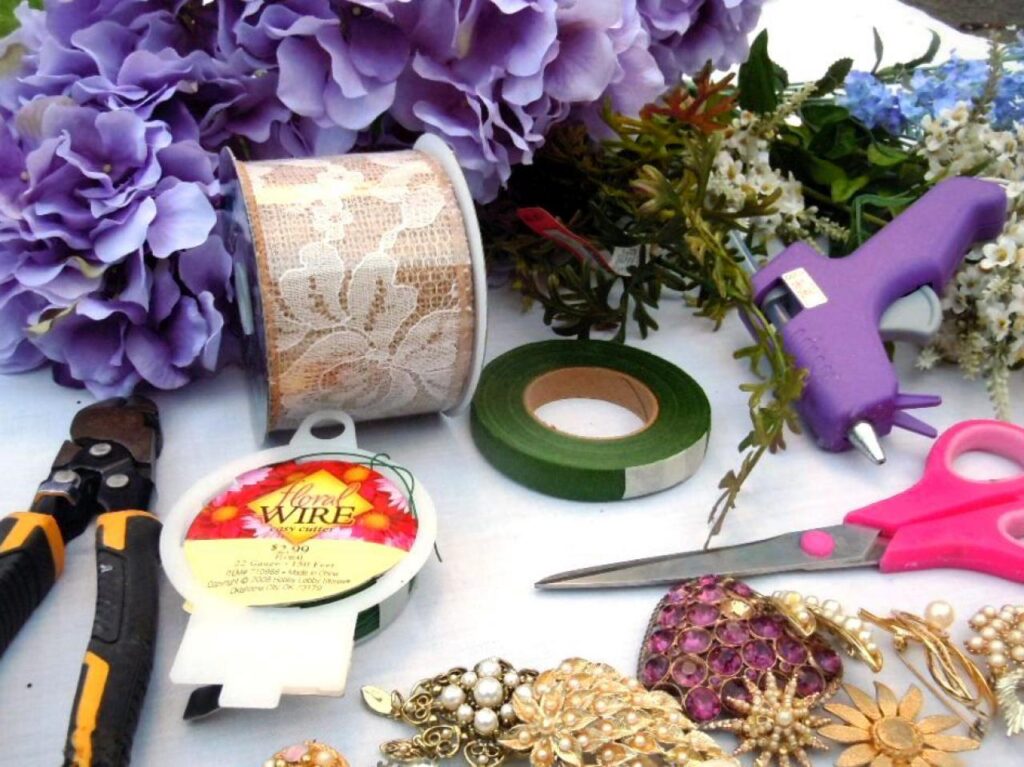
Step 1: Gather everything you need
Getting prepared and collecting everything is the hardest step to make since you probably have no clue what works and what doesn’t. It is also quite hard to make up your mind since a lot of us are indecisive. In most cases, you will need the following items:
- Scissors
- Bouquet pins
- Gorgeous tape
- Ribbons
- A string
Go for white or pink materials & details (if you are a traditional girl). You can go for a pop of color if you want to stand out when it comes to your unique choice.

Make sure that your chosen flowers go with your aesthetic, your vibe, as well as your theme. You can explore your options and always go for something funky & out of the ordinary, as well as retro – if you are that type. If not, simply stick to the traditional & natural aesthetic.
Step 2: Know what your chosen flowers symbolize
- Roses symbolize romance. Red is a sensual & fiery color, while pink stands for romance & elegance.
- Pink Limonium stands for success & beauty.
- Peonies stand for prosperity, riches, as well as compassion.
- White lisianthus flowers stand for purity, spirituality, and a life-long bond.
Step 3: Make sure to remove the leaves
Something that bugs a lot of people is improper placements, maintenance, as well as showing leaves in your arrangement. Make sure that your approach is gentle and calm since you don’t want to damage the stem. Do the process slow & steady and make sure that it is free of leaves & thorns.
Step 4: Begin the process of color organization
Which is your must-have flower, and how do you want it to tell the story? Do you want just one key piece to blow everything off? Choose a flower that is the prettiest & biggest than the rest of your bouquet. Work your way around it and let your flowers tell a story. Place smaller flowers next to it and at an angle. Pro tip? Every time you add a new flower to your masterpiece rotate the bouquet rightward.
PS: Make sure that you stick to the same color pattern & vibe. For instance, if you love cool tones, stick to cool tone flowers. If you love bright & neon shades go with them throughout the entire process.
Step 5: Go for filler flowers around the bouquet
Once you are satisfied with the bulk it is time to focus on the filler flowers. The best solution is some smaller green flowers which give a natural and relaxed vibe. Place these at an angle and watch out for the symmetry, it is quite easy to lose it at this point.
PS: Make sure that your hands are still and that you hold these flowers properly and firmly. You can also ask someone to help you. Tie a tight knot gently and focus it around the high point o your flower’s stem. This will keep them held together, and you will enjoy its practical placement.
Step 6: Cut the stems
If you didn’t do this before you can do the process now. It is best for the bride to hold the bouquet and you should measure around 20 cm lengths from the string. Leave around three centimeters of extra room and cut it at an angle.
You should use tape at this point and wrap the stem from the top and work your way downwards. Wrap the flowers only over the size and width of one hand, do not go overboard.
Step 7: Decorate it with a ribbon
This can be hard to do if you are a clumsy person, or if you are someone who doesn’t have an eye for details. Well, go for a ribbon that is pretty & unique for you. Place the shiny side of the ribbon. Make sure that you know which side to place it on, and stick to a matte color around the flower details. Tie a knot at the bottom of your masterpiece and go for a cute bow. Do your calculations and measurements beforehand. Is there enough of ribbon left that will hold it all together and in place?
Step 8: Spritz it with a spray
Last, but not least, do not forget this signature move & scent! Do you love shiny flowers, as well as a lot of glitter with your items? You should go for a spray over your bouquet which will make the flowers more lively, as well as vibrant on camera. You can also go for your signature scent and enjoy a soft fragrance that will keep your flowers refreshed and constantly fragranced. The groom will also notice that little detail, and who wouldn’t love that?!
Where to find the best flowers?
Thinking about purchasing a bouquet, or surprising someone you love with vibrant and gorgeous flowers? If you are not in the mood to craft and create your own DIY project you can check out Regalaros.com and browse through their bouquets, graduation flowers, as well as boxes with flowers! They have loads of different & gorgeous ideas for every person. Ideal for those who wish to get spoiled, as well as men who love to surprise their ladies with different flower ideas.